Step 2 - Create a User
Create a user to receive funds from
Aeropay users are individuals, uniquely identified by a phone number, who can link bank accounts and make transactions. If you are opting for white-labeled user creation in your application, you'll need to create a user before initiating a transaction.
Create a User workflow
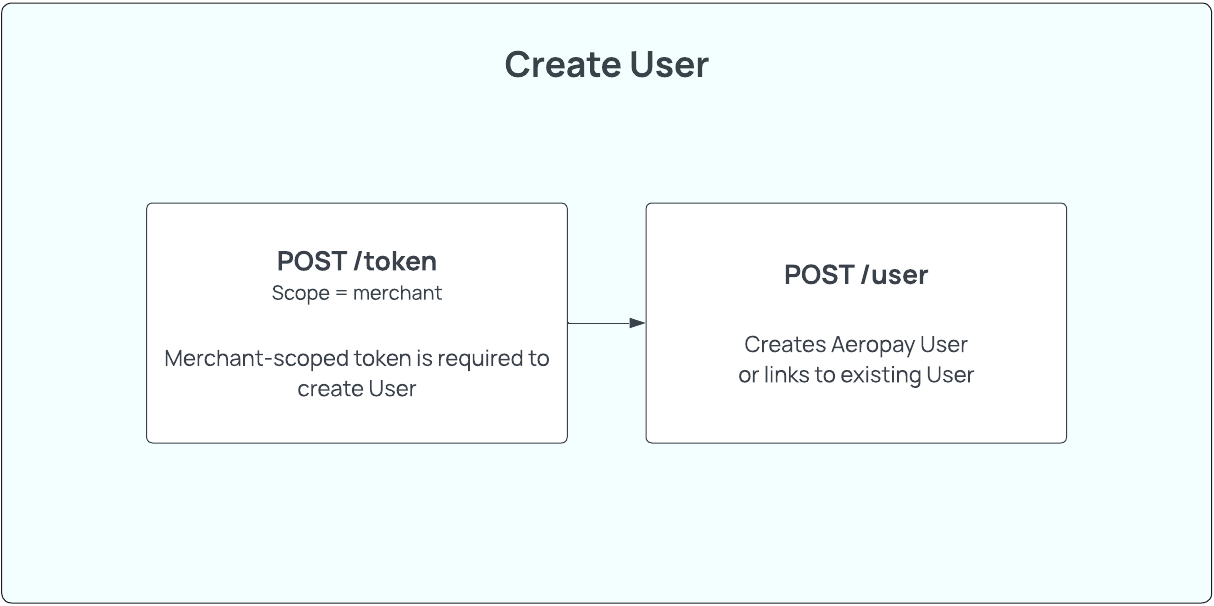
Step 2a - Create the User
HTTP request
Sandbox - POST https://api.sandbox-pay.aero.inc/v2/user
Production - POST https://api.aeropay.com/v2/user
Request parameters
Parameter | Required? | Type | Description |
|---|---|---|---|
firstName | Yes | String | The User's first name as shown on their government ID |
lastName | Yes | String | The User's last name as shown on their government ID |
phoneNumber | Yes | String | The User's phone number |
Yes | String | The User's email address |
Code Example - Request
curl --request POST \
     --url https://api.sandbox-pay.aero.inc/v2/user \
     --header 'Content-Type: application/json' \
     --header 'X-API-Version: 1.1' \
     --header 'accept: application/json' \
     --header 'authorization: Bearer {{token}}' \
     --data '
{
  "firstName": "Jane",
  "lastName": "Doe",
  "phoneNumber": "+11234567890",
  "email": "[email protected]"
}
Code Example - Response
Aeropay will respond with the full user object if the user is new to Aeropay.
{
    "user": {
        "id": "151a8229-69b3-4478-a9a2-9040c68b90be",
        "firstName": "Jane",
        "lastName": "Doe",
        "type": "consumer",
        "email": "[email protected]",
        "phoneNumber": "+11234567890",
        "createdDate": "2025-10-22T18:40:01+00:00"
    },
    "mfaType": "sms"
}
mfaTypePossible values are 'sms', 'email', or null, determined by merchant settings.
Error codes
| HTTP status | Error Code | Meaning | Resolution | Message |
|---|---|---|---|---|
| 200 | N/A | Missing phoneNumber parameter | Provide parameter 'phoneNumber' | Phone number required to create an AeroPay user |
| 200 | N/A | Phone number is being used by a current Aeropay user | Have user provide PIN in email and pass to our /confirmUser endpoint | You've previously used AeroPay to pay another business using this phone number. Please verify your identity by entering the pin sent to your email |
Step 2B - Confirm User Identity
In the case the user you've created already exists in the Aeropay ecosystem, you will relieve an error from POST /v2/user that the user you created has previously used Aeropay. Aeropay will send an MFA code to the user's email registered with their pre-existing Aeropay account. This MFA code has a TTL of 15 minutes.
You will have to verify the user's identity with POST /v2/confirmUser. The POST /v2/confirmUser API can be used to verify the user's identity by requiring the user to enter an MFA code sent to the email on file with Aeropay. Note: Aeropay handles sending of these MFA codes.
HTTP request
Sandbox - POST https://api.sandbox-pay.aero.inc/v2/confirmUser
Production - POST https://api.aeropay.com/v2/confirmUser
Request parameters
| Parameter | Required? | Type | Description |
|---|---|---|---|
| userId | Yes | String | The User's Aeropay userid |
| code | Yes | String | MFA code provided by user. |
Code Example - Request
curl --request POST \
     --url https://api.sandbox-pay.aero.inc/v2/confirmUser \
     --header 'Content-Type: application/json' \
     --header 'accept: application/json' \
     --header 'authorization: Bearer {{token}}' \
     --data '
{
  "merchantId": "1234", // merchantId
	"userId": "123123", // userId of user
  "code": "234153", // MFA code provided by user via email
}
Code Example - Response
{
    "user": {
        "id": "151a8229-69b3-4478-a9a2-9040c68b90be",
        "firstName": "Jane",
        "lastName": "Doe",
        "type": "consumer",
        "email": "[email protected]",
        "phone": "+11234567890",
        "createdDate": "2025-10-22T18:40:01+00:00",
        "userStatus": "Active"
    }
}
Step 2C - Retrieve the User Details
Aeropay recommends saving the user.id and demographic information in your own database, but the user's actively-linked bank accounts must be fetched before making a transaction. To fetch the user's linked bank accounts, use the GET /v2/bankAccounts endpoint. The GET /v2/user API can be used to fetch all relevant user information by searching on the user's Aeropay user.id.
HTTP request (bankAccounts)
Sandbox - GET https://api.sandbox-pay.aero.inc/v2/bankAccounts
Production - GET https://api.aeropay.com/v2/bankAccounts
Request parameters
This endpoint does not require query parameters. The user's bank accounts are retrieved based on the authorization token provided.
Code Example - Request
curl --request GET \
     --url https://api.sandbox-pay.aero.inc/v2/bankAccounts \
     --header 'Content-Type: application/json' \
     --header 'accept: application/json' \
     --header 'authorization: Bearer {{userForMerchant token}}'
Code Example - Response
{
  "bankAccounts": [
    {
      "bankAccountId": 1139036,
      "bankName": "Aerosync Bank (MFA)",
      "accountLast4": "3535",
      "name": "Aerosync Checking",
      "isSelected": true,
      "accountType": "checking",
      "status": "verified",
      "createdDate": "2025-12-01T18:52:37+00:00"
    },
    {
      "bankAccountId": 1139682,
      "bankName": "Aerosync Bank (oAuth)",
      "accountLast4": "1329",
      "name": "Aerosync Checking",
      "isSelected": false,
      "accountType": "checking",
      "status": "verified",
      "createdDate": "2025-12-11T21:50:22+00:00"
    }
  ]
}
HTTP request (user)
Sandbox - GET https://api.sandbox-pay.aero.inc/v2/user
Production - GET https://api.aeropay.com/v2/user
Request parameters
| Parameter | Required? | Type | Description |
|---|---|---|---|
| id | Yes | String | The User's Aeropay userid |
Code Example - Request
curl --request GET \
     --url https://api.sandbox-pay.aero.inc/v2/user \
     --header 'Content-Type: application/json' \
     --header 'accept: application/json' \
     --header 'authorization: Bearer {{user or userForMerchant token}}'
Code Example - Response
{
    "user": {
        "id": "151a8229-69b3-4478-a9a2-9040c68b90be",
        "firstName": "Jane",
        "lastName": "Doe",
        "type": "consumer",
        "email": "[email protected]",
        "phoneNumber": "+11234567890",
        "createdDate": "2025-10-22T18:40:01+00:00",
        "userStatus": "Active"
    }
}